Django 4 Instant Customer Database Tutorial
Build a customer database. Web interface. Multiple users can log in, and edit customer database.
Learn the basics of Django 4, the web framework used by Instagram, National Geographic and Discus.
Want to lean more Django? Enroll my summer course Python weppipalvelu - ideasta tuotantoon.
Prerequisites # ↑
You should have Linux installed. I've tested with Debian 11-Bullseye, but you can adapt to others.
You should know Linux command line.
Install development environment # ↑
$
Create a new virtualenv to install latest versions of Python packages, such as Django 4.
$
This creates new folder env/, that will have the latest packages in lib/site-packages/. We of course want to use Python version 3. Some Python packages are much more convenient to install with apt-get, so --system-site-packages allows using packages outside virtual environments.
Let's use our new virtual environment
$
Prompt probably shows "(env)" in the beginning. Virtualenv is not a security feature or a sandbox. Any Python packages you install inside it need per-program consideration.
Make sure we're installing to virtual environment. Don't use pip without virtualenv, and definetly don't run pip with sudo.
$
/home/tero/env/bin/pip
Let's list our single Python package in a text file
$
$
$
django
$
Did we get the latest Django?
$
4.0.2
Well done.
Hello DJ Ango! # ↑
Your whole website is a project in Django.
$
Let's try it
$
$ Starting development server at http://127.0.0.1:8000/
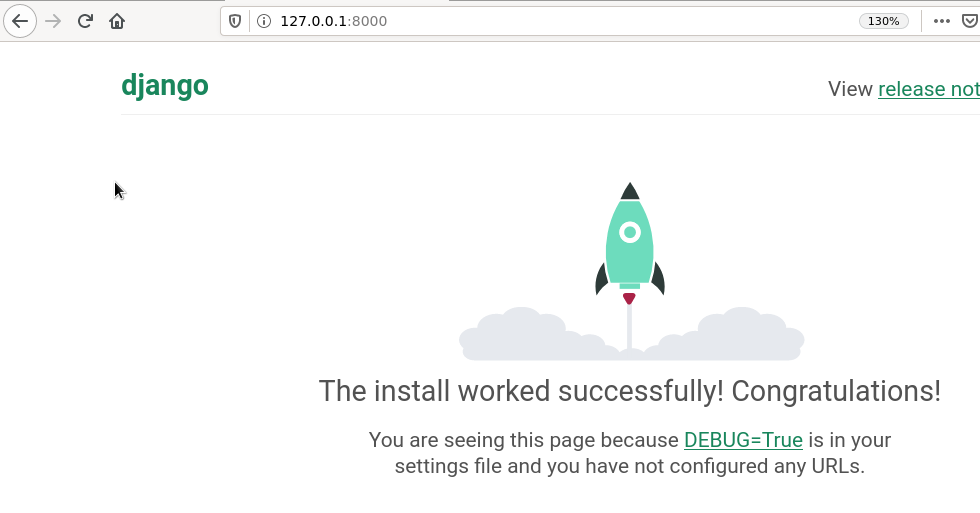
So, let's browse to the URL. Can you see the welcome page? Great, you're running the development server of Django.
Admin interface - for free # ↑
Let's add /admin to the URL. http://127.0.0.1:8000/admin/
There is a login interface, but we can't yet get in.
Update the databases
$
$
And add a user
$
$
$ ./manage.py createsuperuser
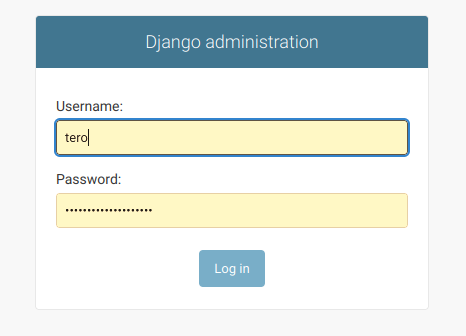
Now try loggin in a again http://127.0.0.1:8000/admin/ .
Can you see the admin view? Well done, you're using Django admin interface.
Add More Users # ↑
Add a user. Make this new user staff and superuser, so he can modify any data trough the web admin interface. Remember to use a good password.
Log out from web admin, and log in as your new user.
Can you modify data? Well done, you now have a new web admin user.
Create a Customer Database # ↑
$
This created a new folder crm/ for our Customer Relationship Management app.
Add the app to INSTALLED_APPS in settings.py.
$
=
Let's add some models. Django can automatically create databases, admin views and even forms from the models.
$
=
So, Customer class will create a "customer" table in the database, with "name" column.
$
$
To see our new database in admin/, we must register it.
$
Let's see our new Customer model in the admin.
$
Log into http://127.0.0.1:8000/admin/ .
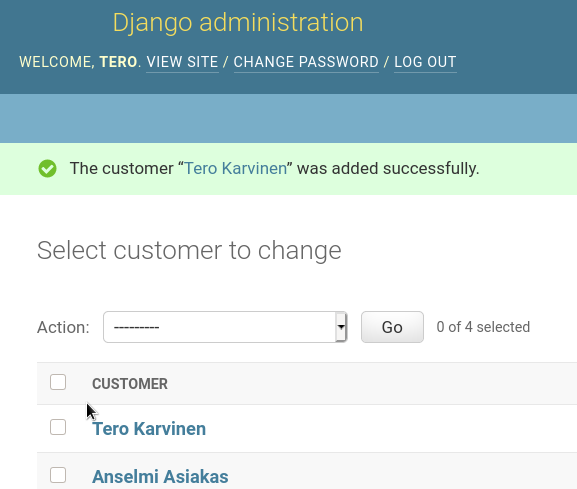
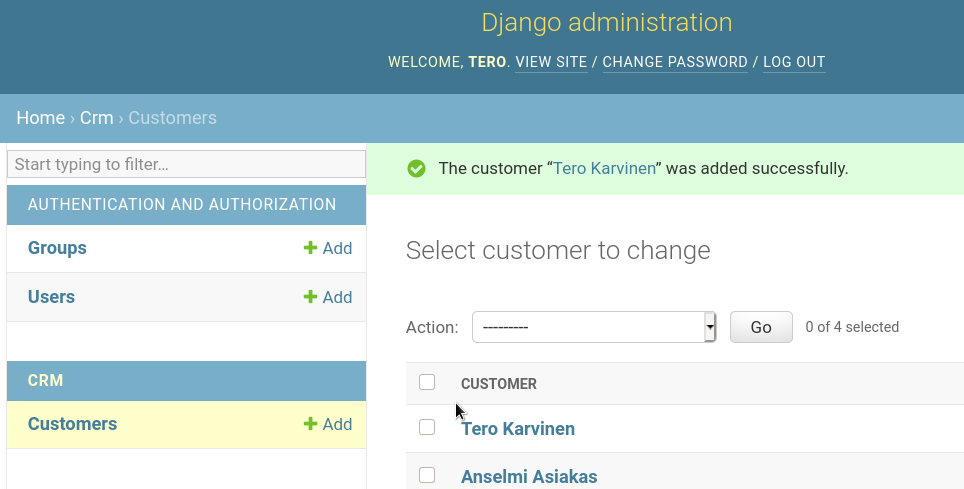
Can you see Customers? Add some customers, modify them and remove them. Well done!
List Their Names # ↑
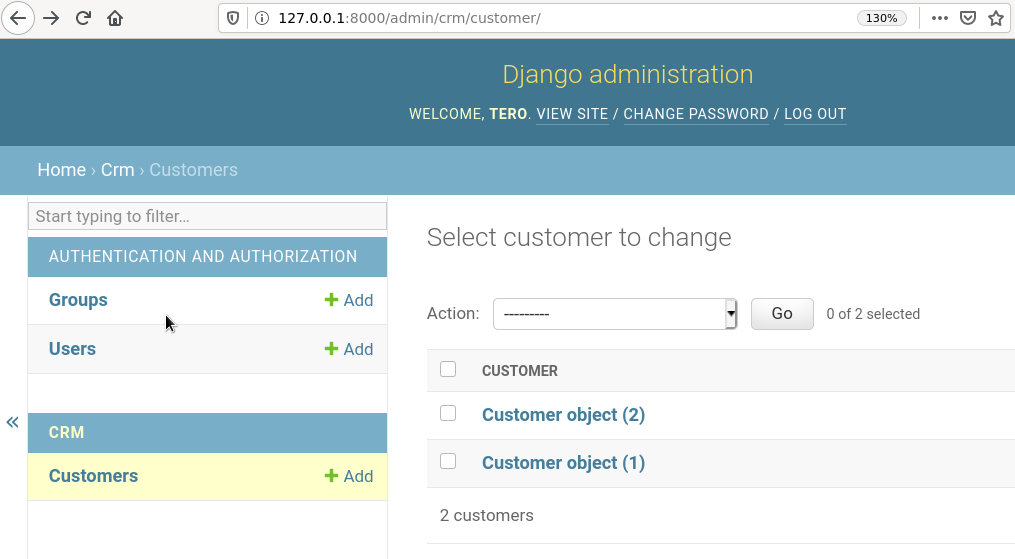
Customer names are currently listed in pretty annoyingly: "Customer object (1)", "Customer object (2)"... I'm not a number, I'm a free man!
Let's make the admin interface show our customer's names also in list. Edit the existing models.py, where we've described Customer class.
$
=
# new
return # new
Now we can tell how Customer is converted to string. The name of the function is funny, two underscrores on each side. Python objects refer to themselves as "self", similar to "this" in some other languages. You can return any string, but customer's name is better than "potato".
Well Done! # ↑
You now have
- A customer database
- A web admin interface to edit the database
- The admin interface is protected by password for each user
Next, we could put this to production. You must never expose the development server (runserver) to the internet. For production, we'll use Apache. It's the most popular web server in the whole world!
Adminstrivia # ↑
This article has been updated multiple times.